

There’s nothing a franchise loves more than a sequel. And here at Mutant Reviewers we’re more than willing present another feature on tabletop games based off of previously existing IPs. However, unlike last time where each spotlighted property came from a different medium, all of the following games have a comic book association.
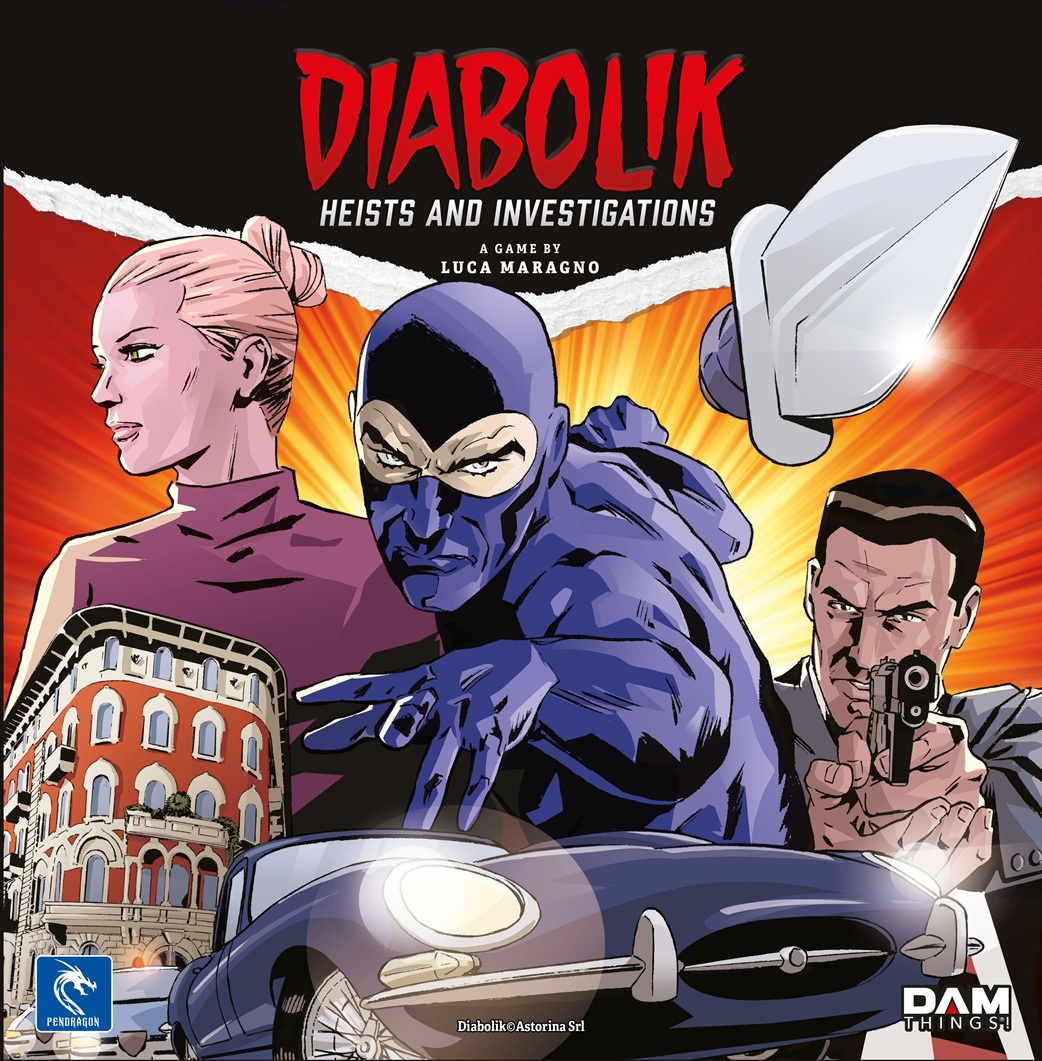
Diabolik: Heists and Investigations
- $49.90 for 2-4 players
- Ages 13+
- Designed by Luca Maragno
- Published by Pendragon Game Studio
Most of the people reading this know Diabolik best from the 1968 movie starring John Philip Law that was screened in the final episode of the original run of Mystery Science Theater 3000. But there’s more to Diabolik than that. Obviously we have the original comic book series which has been continuing well past the deaths of the Giussani Sisters. And there have been adaptations in other media such as film, television and video games, though mostly for the Italian market. So a tabletop game was bound to be published eventually.
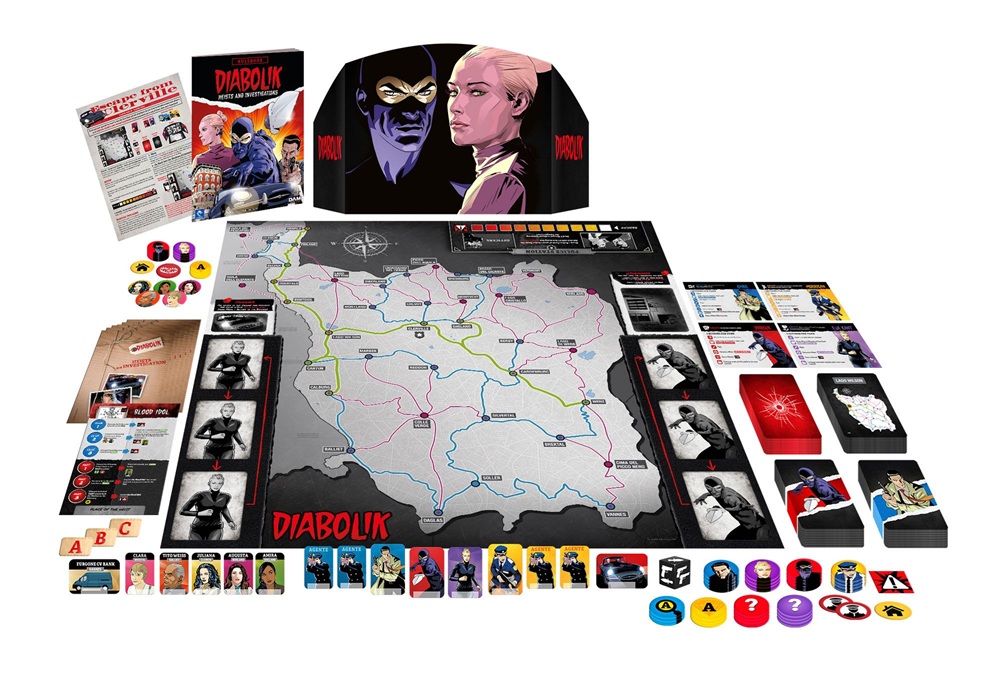
Not surprisingly, Diabolik: Heists and Investigations is built around the hidden movement mechanism seen in games like Letters from Whitechapel and Fury of Dracula. The game features two modes of play. The simpler one focuses on the basics of hidden movement with a scenario where Diabolik and his moll Eva Kant have just pulled off a caper and must evade the police led by Ginko long enough for their trail to go cold. The more advanced version involves both sides attempting to complete a set of tasks before the other side can do so first, with a larger variety of game elements in play.
The game board consists of a map of the fictional state of Clerkville, the setting of the Diabolik comic books. The various cities, towns, and landmarks are connected by roadways of different colors. Green roads are highways and up to three locations can be moved through per movement action. Blue roads are state roads and up to two locations can be moved through per movement action. Purple roads are country roads and only one location can be moved through per movement action. A single movement action can only take place along one road type and cannot be switched until another movement action is taken.
At the start of the basic game, Location cards are drawn for Diabolik, Eva, Ginko, and Morrigan, as well as the four unnamed police officers controlled by the latter two. The character markers are then placed at the corresponding locations on the board and the cards are returned to the Location deck. The two teams then alternate taking turns, during which each character can perform up to two actions, so long as that character doesn’t perform an identical action twice on the same turn. Both teams can perform a Move action based off the type of road being traveled along as described above.
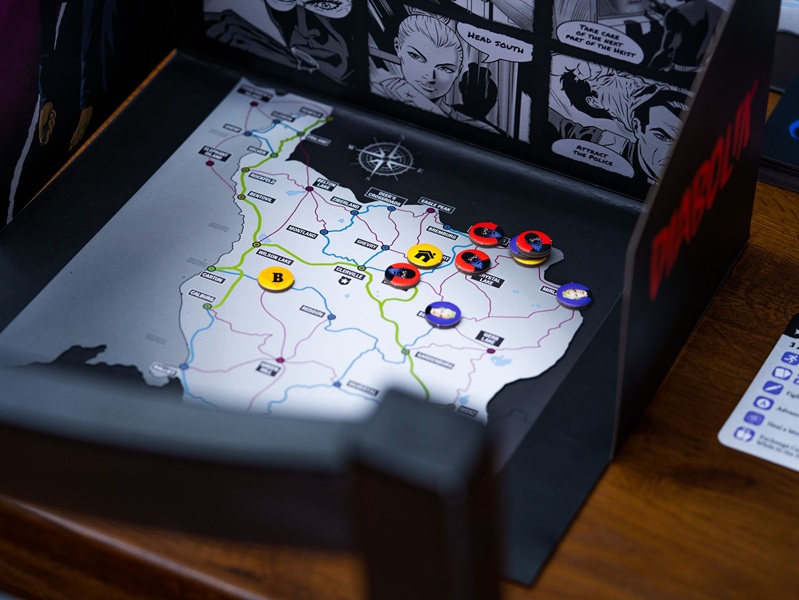
Diabolik and Eva can also Enter the Shadows as an action, which can only be done in a location with no police officers. A location that can legally be moved to (which can include staying at the current location) is chosen and the corresponding card is taken from the Location deck and placed facedown on the top slot in the character’s hidden movement track, with the character token being placed on top of it. The Team Diabolik player(s) keep track of the hidden movement on a miniature map concealed from the Team Ginko player(s) behind a screen. When performing a Move action while In the Shadows, the Location card corresponding to the destination is placed in the top slot of the character’s hidden movement track, with cards already on the track being moved down one slot. If a card was already in the bottom slot, it gets returned to the Location deck. However, if Diabolik or Eva enter, leave, or pass through a location with someone from Team Ginko in it, the player must announce that the character in question has been seen there. At the beginning of each Team Diabolik turn where both Diabolik and Eva are still In the Shadows, the marker on the Danger Level track is moved one space towards the Safe end.
Team Ginko also has its own selection of unique actions. An Investigate action can be used to determine if Diabolik or Eva are currently or recently have been in the character’s current location. If said location corresponds to one of the facedown cards, Team Diabolik must flip that card over. If Diabolik or Eva is in that location, the character marker is returned to the main board and is considered In the Open. Team Ginko members who share a location with a Team Diabolik member can perform a Fight action. The Combat Die is rolled and the indicated number of Wounds (which can range from none to two) are applied. Team Diabolik wins when the marker on the aforementioned Danger Level track reaches the Safe end. Team Ginko wins when either Diabolik or Eve accumulates three Wounds.
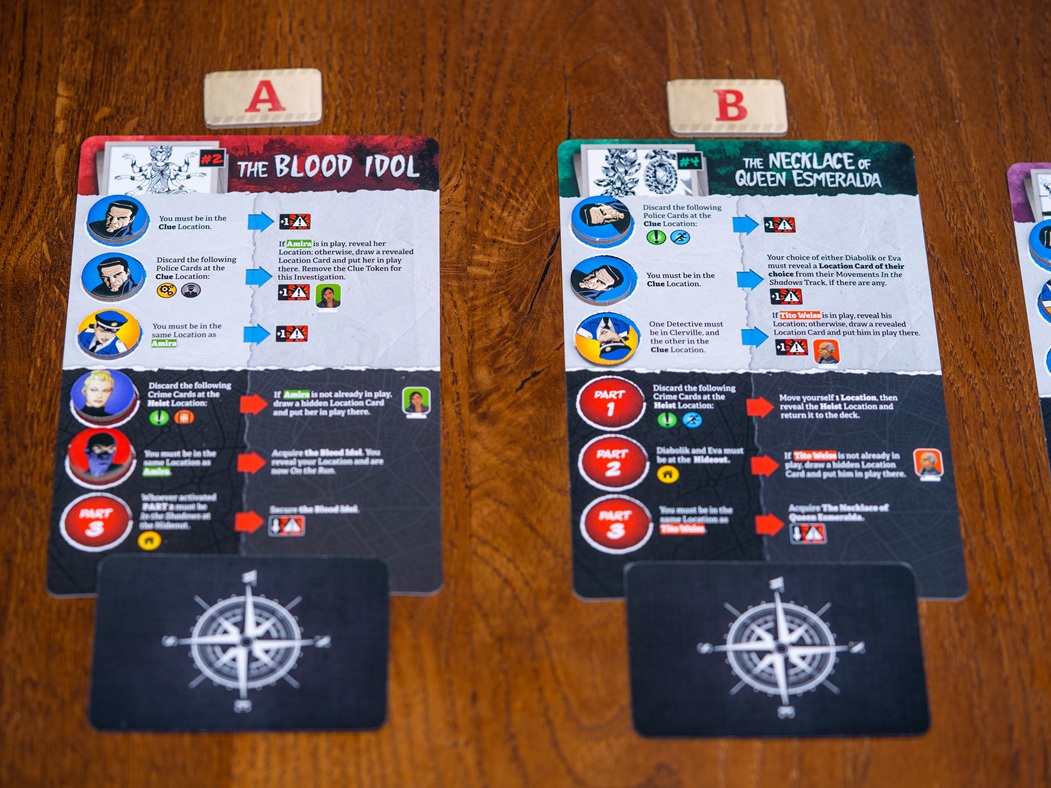
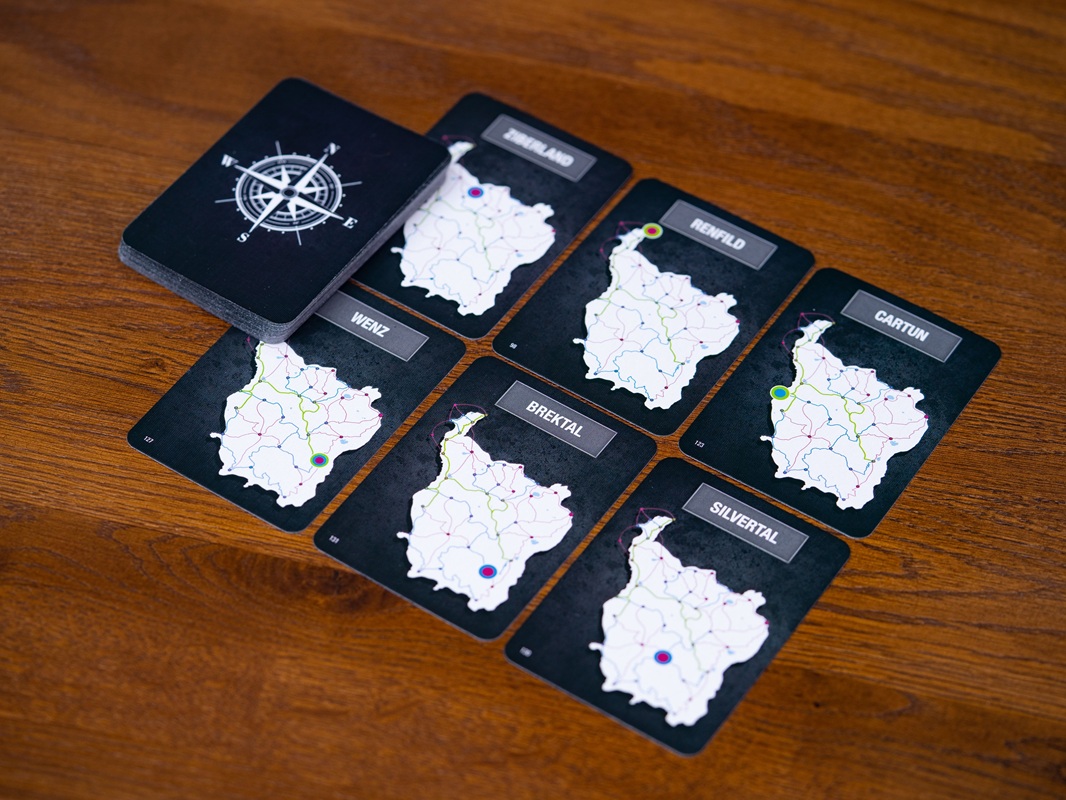
After a couple of games to get a hang of the basic mechanics, you’re now ready to experience the full game with a wider array of game options and components. Central to this are the Heist/Investigation sheets, of which three are randomly drawn at the start of the game. Each also has two randomly drawn Location cards, one which is central to the Heist (and is placed facedown next to the sheet) and the other which is central to the investigation and is returned to the Location deck after a Clue token is placed at the appropriate point on the game board. Each sheet will list two different sets of three tasks each which the appropriate teams must accomplish in order. In addition, a Location card is drawn to determine where Diabolik’s hideout is (which is also the starting point for Diabolik and Eva) and placed facedown on the indicated spot on the board. Two more locations are drawn to determine where Ginko and Morrigan start.
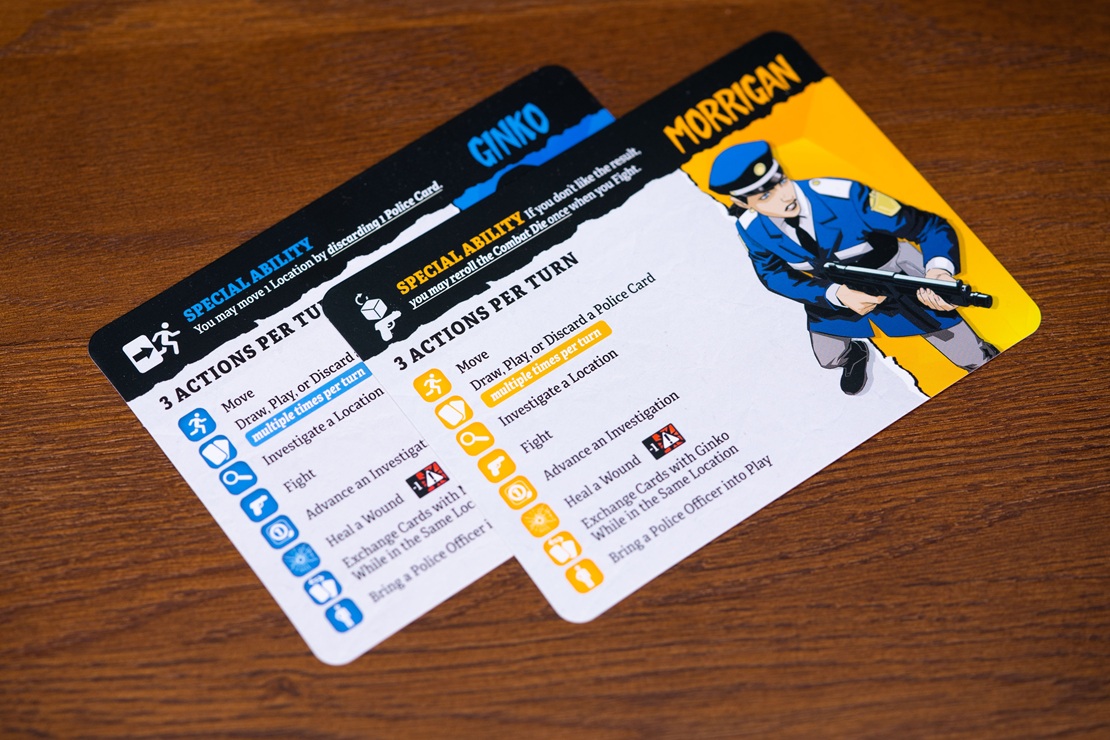
The named characters also receive additional materials. Character sheets provide a list of actions that may be performed as well as a special ability unique to that character. Both teams also have their own dedicated decks of action cards known as the Crime deck and the Police deck. Playing these cards provide one off benefits. Each card also features one of four icons themed to the type of benefit provided which are relevant to completing certain Heist and Investigation tasks. In most instances, the maximum hand size is five cards.
Of the action types available in the basic game, Moving and Entering the Shadows remain pretty much identical. The only difference is that Entering the Shadows is now considered to be movement for the purpose of repeating actions not being allowed. The only way around this is if the Jaguar that is Diabolik’s sweet ride is available, which allows two movement actions on the same turn. Investigate actions can only be used to reveal Location cards in one of the hidden movement tracks. Cards for the Hideout or Heist locations can only be revealed with an Investigate action if Diabolik and/or Eva happen to be there at the moment.
Team Diabolik has access to the Fight action in the advanced game. Whenever the Combat Die is rolled, each gun icon inflicts a Wound on the Team Diabolik character, while each dagger icon inflicts a Wound on the Team Ginko character. Unnamed police officers, essentially being Redshirts, can only take one Wound, which removes them from the board. Named characters add a Wound card to their hand of action cards, discarding non-Wound cards if this would cause the hand to exceed the hand limit. Finally, when Diabolik or Eva make an attack while In the Shadows, it does not result into being forced In the Open. Though now Team Ginko is aware of the culprit’s recent location and can focus on the potential new positions.
With more available actions, named character also see their number of allowed actions per turn increase to three. Though still a character can only perform a specific action once per turn. The most important of these is to Advance a Heist or Investigation. Most of the time, this involves spending an action while at a marked location. However, there are instances where Action cards with specified icons must be discarded as well. In most instances where an Investigation task is completed, Team Ginko will then draw a random Location card to determine where the next Investigation task will occur. If all three tasks for an Investigation are completed, Team Diabolik can still attempt to finish the corresponding Heist (though they may be at a considerable disadvantage). However, whenever all three tasks for a Heist are completed, the sheet is removed from play and Team Ginko may not attempt any more Investigation tasks from that sheet.
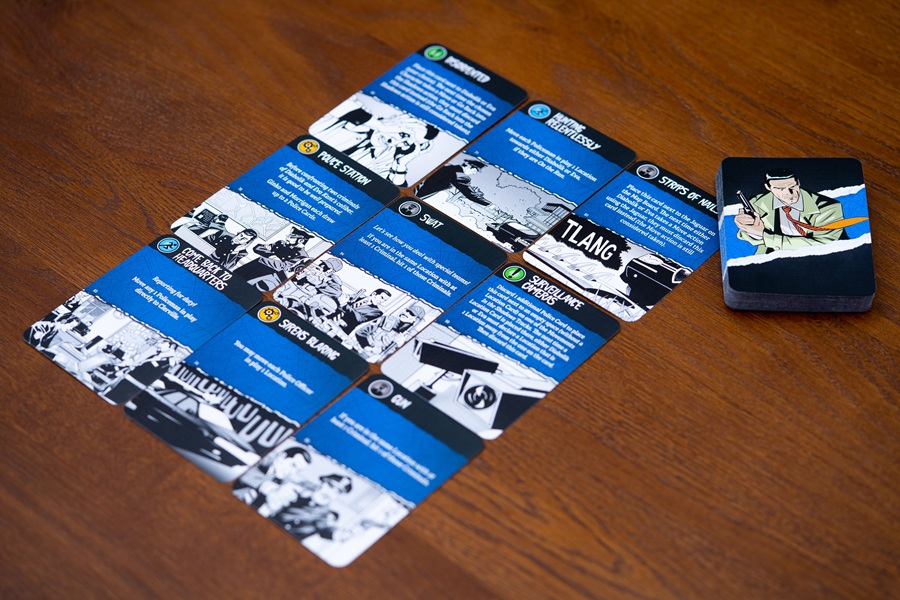
Other new actions both sides can perform are heal a Wound (discarding a Wound card from hand), draw, play, or discard an Action card, take an Action card from the discard pile if in the team’s safe location (the Hideout for Team Diabolik and Clerkville City for Team Ginko), and exchange Action cards between two members of the same team at the same location. This last action is not possible if one player controls both characters on a team, with the player in question possessing a single hand of cards usable for both characters. Team Ginko can also bring a police officer into play as an action by discarding one or more actions cards (though this is only required if the character is not in Clerkville City). An unnamed police officer marker is placed at Clerkville City and gets to act on the controlling player’s next turn. These police officers have just two actions and can only Move, Investigate, and Fight.
In the basic game, the marker on the Danger Level track moves sporadically but inevitably towards the Safe end. But in the advanced game, it can swing back and forth like a pendulum. Team Diabolik wants it at the Safe end while Team Ginko wants it at the Danger end. Events that can cause the Danger Level to move in an unfavorable direction for both teams include healing a Wound outside the team’s safe location, taking a Wound when the player’s card hand is maxed out on Wound cards, drawing the last card in the team’s Action card deck before reshuffling, and taking an Action card from the discards. Team Diabolik can also move the Danger Track marker to the Safe end by completing al the tasks for a Heist, the amount of spaces moved being based off how many tasks in the corresponding Investigation have been completed. For Team Ginko, most Investigation tasks will move the Danger Track marker one space towards the Danger end when performed. The same also happens if, at the beginning of the Team Diabolik turn, Diabolik or Eva are In the Open (two space if both are In the Open).
Team Diabolik wins when two of the Heists have had all of their tasks completed. Team Ginko wins when the marker on the Danger Level track is all the way on the Danger end.
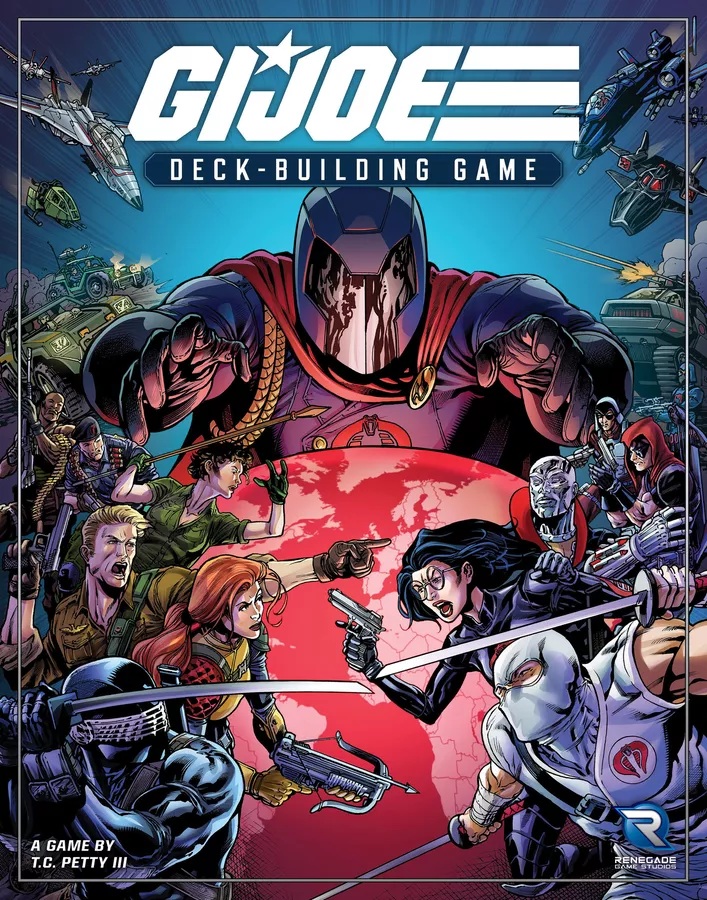
G.I. Joe Deck Building Game
- $45.00 for 1-4 players
- Ages 13+
- Designed by T.C. Petty III
- Published by Renegade Game Studios
Like most kids of the Eighties, I had a more than passing familiarity with the G.I. Joe franchise. Mostly from watching the Sunbow cartoon, as I never had any of the toys. Ultimately, I ended up filing those memories in the mental drawer marked 1 Corinthians 13:11 and thought no more of it.
Then a couple of years ago, my Amazon Recommendations alerted me to the existence of Skybound’s Energon Universe comic book franchise, which features crossover shenanigans that include G.I. Joe, Transformers, and (most recently) M.A.S.K. My favorite was the five-issue limited series that focused on Cobra Commander. Not only did they make the character menacing, but they also ran with the much-derided Cobra-La origin story and got it to work. However, their main G.I. Joe line was effectively a continuation of the Duke limited series, which I regarded as the weakest of the lot. But another recommendation informed me about the ongoing A Real American Hero series that dated back to Marvel Comics in the Eighties and is still being written by Larry Hama.
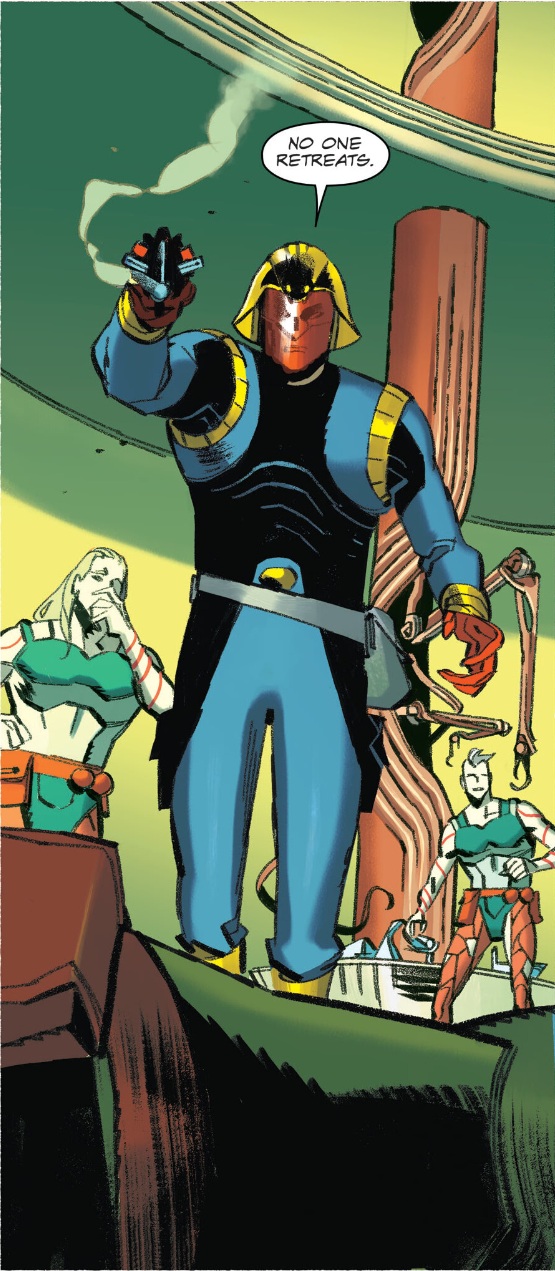
With my interest in the franchise rekindled, I started looking into gaming options. Of course, there is the role-playing game. However, it uses the 4S System, which employs a bell curve mechanic I dislike. But the deck-building game was more promising as I’ve always been fond of that particular game mechanism.
As befits the franchise, the premise is that Cobra is up to one of their world domination schemes, and it’s up to the Joes to thwart it. The base game comes with two scenarios (with more available in the expansions, natch). One is based on the M.A.S.S. Device five-parter that served as the premiere for the Sunbow cartoon, while the other is an original that centers around everyone’s favorite oddly butch mad scientist Dr. Mindbender and his brainwave scanner. Which technically (at least in the comic book series) was created by Dr. Venom. Then again, Cobra almost certainly plays fast and loose with patent law (assuming Dr. Venom applied for a patent in the first place).
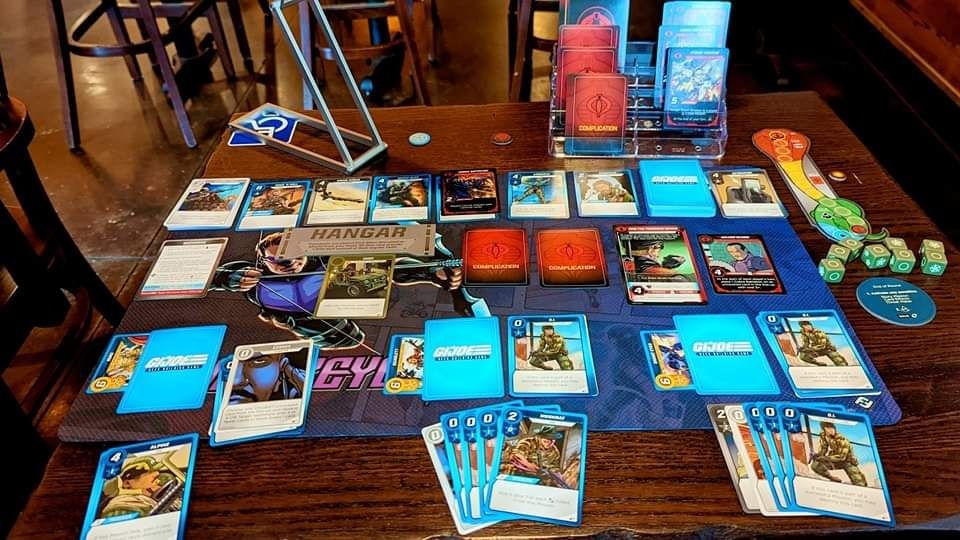
The game consists of a series of rounds in which each player gets a single turn (two in Solo Mode). Players start with near identical decks, the only difference being each will have a different Starting Leader card featuring one of the more iconic Joes. Each turn consists of three phases, though the Start Phase is skipped over on the very first round. During the Start Phase, the top card in the Story Mission deck is put into play (assuming there isn’t one currently), along with an indicated number of Complication cards placed facedown next to it. This is followed by resolving any Start of Turn effects in play. The Action Phase is divided into two parts. First, any Missions in play may be attempted by selecting a Transport in the Hangar and assigning Joes. There are two broad types of Missions. Side Missions can only use Joes from the card hand of the active player. Group Missions can have Joes assigned by any player, though the active player must provide at least one. Any player who contributes a Joe to the Mission may also play Gear and Utility cards that can provide additional benefits. Either way, the number of Joes who can take part in a Mission is restricted by the capacity of the selected Transport and each mission in play is limited to one attempt per turn. At the end of a Mission, non-active players place the cards they contributed in their respective discard piles while those from the active player are set aside. Unless the card text says otherwise, the Transport used goes to the discard pile of the active player.
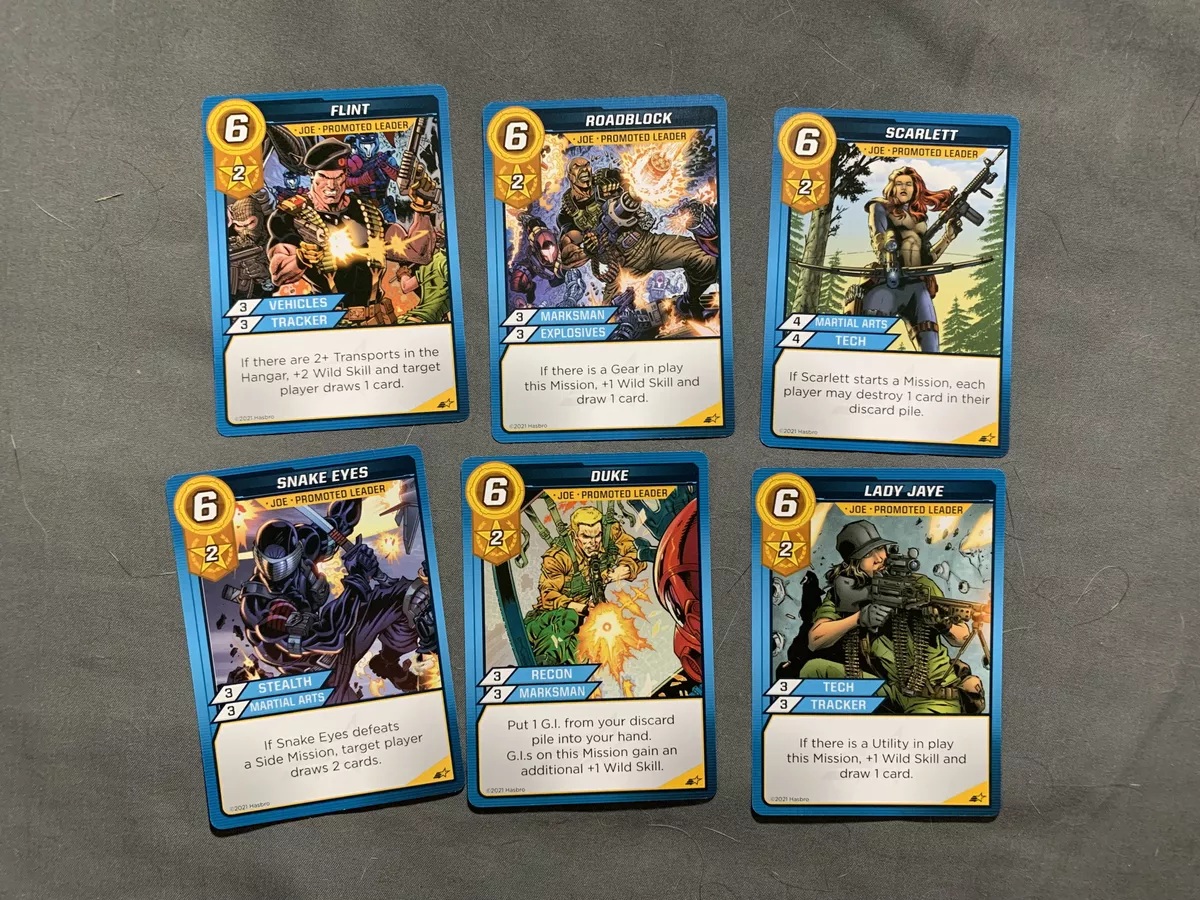
When done with performing Missions, Recruitment begins using the cards that were in the active player’s hand at the start of the turn. Most cards provide a certain amount of Recruitment points which can be used to purchase from a selection of six cards known as the Line-Up. If a Transport is purchased, it goes directly to the Hangar. Any other card types that are bought get placed on the top of the purchasing player’s deck. Any cards purchased from the Line-Up are replaced with the top card from the Main Deck. If the active player has the Starting Leader card in hand and at least six Recruitment points, they can be spent to trade up for the corresponding Promoted Leader card. This is followed by the End Phase, which begins by resolving any End of Turn effects in play. The active player then places the cards from the start of the turn into the discard pile and draws a fresh hand of five cards, reshuffling the discards if the deck runs out. Any Transport cards that are drawn immediately go to the Hangar. Once everyone has taken a turn (or two turns are taken in Solo Mode), any End of Round effects in play are resolved and the Threat Meter goes up one space.
Mission cards will list up to two skills which can be used to complete it. Some will state that any one skill can be used. In this case, the active player declares which skill is going to be used before any Joes get assigned. If two skills are listed with the Or conjunction, then the active player selects one of the options. If two skills are listed with the And conjunction, then both skills can be applied. All Named Joes and most Transports provide points for specific skills (such as Explosives, Marksman, Recon, etc.) that can be used on the Mission. Many also have bonus skills and special abilities that can be accessed if the Threat Meter marker is in a particular area or the Mission card has a specific Terrain icon printed on it. Once the needed skills are totaled up, dice equal to this sum are rolled. Gear and Utility cards can also be played at the appropriate moments to enhance or modify the results. If the number of Hits rolled equal or exceed the Mission’s Difficulty, it has been successfully completed.
Occasionally, a player may have reason to assign a Joe without the required skill to a Mission. Perhaps a Group Mission needs to be completed ASAP and none of the active player’s Joes have the needed skill. Perhaps a non-active player doesn’t have any qualified Joes but does have some potentially useful Gear or Utility cards. Or perhaps the active player has one Joe left in hand that can’t be used on other Missions that turn and there’s still an empty space in the Transport. In such cases, the Joe in question will be treated as having a Wild skill with a rating of 1.
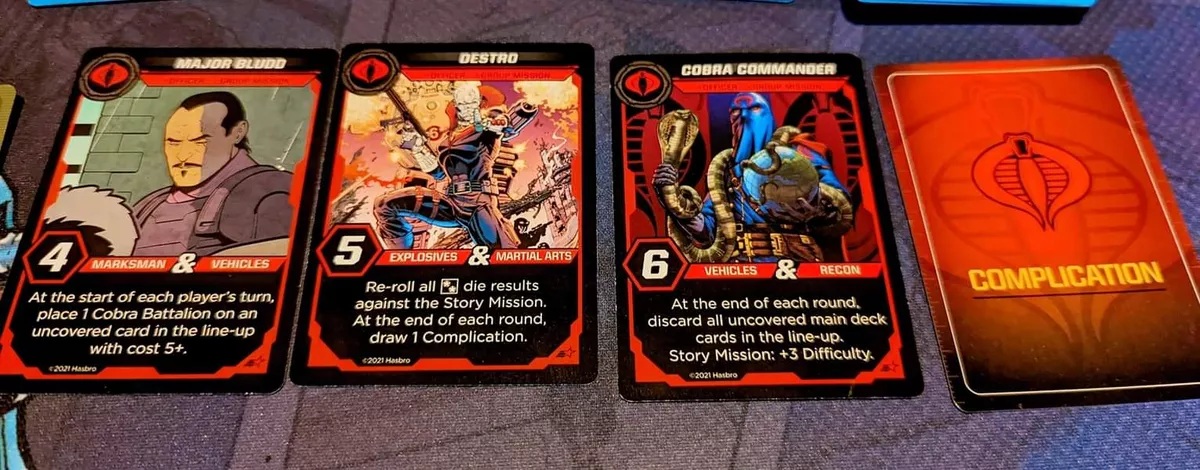
The two most common Side Missions are Cobra Trooper and Cobra Battalion cards. The former get added to a player’s deck, where it can reduce the options available to the player. Any Cobra Troopers in hand at the start of the turn are placed on the table as an available Mission. If not successfully completed by the end of the turn, the Cobra Trooper goes to the player’s discard, allowing it to show up again at a later time. When a Cobra Battalion enters play, it gets placed on the leftmost card in the Line-Up without a Cobra Battalion on it already, making it unavailable for purchase. Should a sixth Cobra Battalion enter play (and thus make the entire Line-Up unavailable), the players automatically lose the game. Both of these are relatively easy to defeat, but draw away resources from being used on bigger missions. More troublesome are the Cobra Officer cards, featuring named Cobra operatives like Cobra Commander, Baroness, Destro, Stormshadow, and others. Until their Missions are completed, the negative effect printed on the card is applied to the gameplay.
The most important Missions are the Story Missions. During the set-up, a scenario is chosen and the associated Mission cards are sorted out into their affiliated Acts, as well as the three Act Finale cards. Two random cards for each Act are drawn facedown with the Act Finale card being placed on top. The Act Two pile is stacked on the Act One pile and the Act Three on the Act Two. The Story Mission deck is then flipped over to reveal the first Story Mission. When a Story Mission goes into play during the Start Phase, the next Story Mission becomes visible. This allows players to know what sort of skills they need to add to their decks and plan ahead. Unlike other Missions, unless otherwise indicated each Story Mission can only be attempted once. Successfully completed Story Missions go into one discard pile while failed Missions go into a separate discard pile, with the number in each having potential gameplay effects later on.
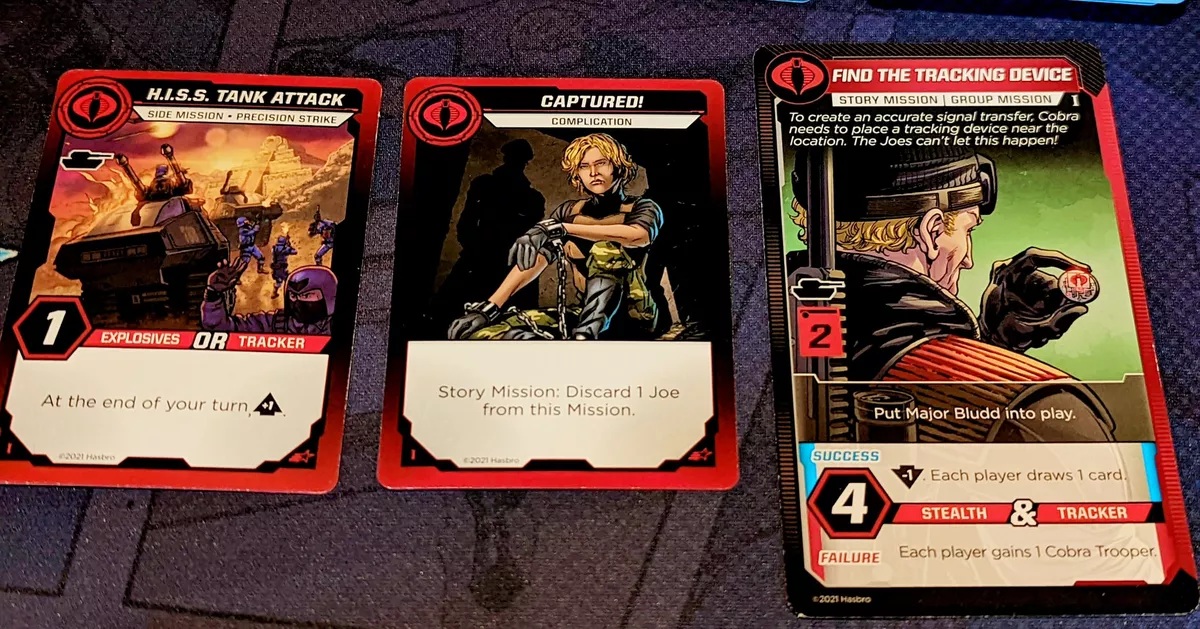
Story Missions are made less straightforward thanks to Complication cards, which get assigned to most Story Missions as described earlier and are revealed when the Mission is attempted. Bringing to mind the military adage that no battle plan survives contact with the enemy, Complication cards can increase a Mission’s Difficulty, restrict the options available to players for the Mission, or bring specified Cobra Officers into play. But the ones most likely to ruin your day are the Precision Strikes, each of which gets assigned to a specific player. These are Side Missions that, until they are successfully completed by the assigned player, will inflict some sort of negative gameplay effect (usually at the end of the turn of the player it was assigned to). No player may have more than two Precision Strikes assigned at the same time. If all players are maxed out on Precision Strikes when a new one is drawn, then it’s simply discarded. Though it’ll be a cold comfort, seeing as how having so many Precision Strikes in play leaves players utterly screwed. Things only get more tricky as the story progresses, with the Complication cards being reshuffled at the start of each Act along with new cards added in.
If players want to hear the sweet, sweet cry of, “Cobra retreat!”, the Act Three Finale Mission must be successfully completely before the Threat Meter maxes out, a sixth Cobra Battalion enters play, or the Main Deck runs out of cards.
And just in case you’re wondering, there is indeed a “Knowing is Half the Battle” card. And it’s a good one, because it provides Hits equal to one half of the mission’s Difficulty.
Robo Rally: Transformers
- $55.00 for 2-6 players
- Ages 14+
- Designed by Dan Blanchett
- Published by Renegade Game Studios
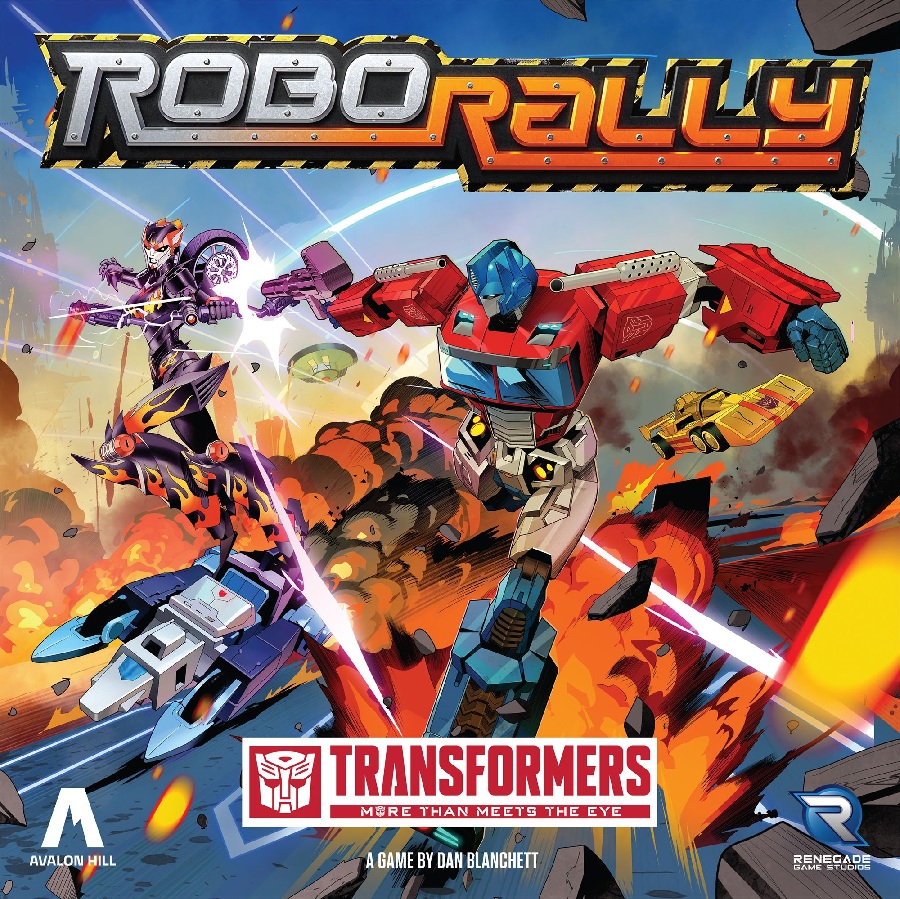
One of the classics of tabletop gaming is the prototypical action programmer Robo Rally. It’s essentially a race game where you play action cards that will allow you to guide your robot through a series of checkpoints to victory. Only it turns out that you find yourself blundering into your competitors and wind up getting misdirected into the line of fire of a laser turret and similar hijinks. If you’re familiar with the early seasons of Robot Wars, imagine what the Gauntlet portion of the competition would be like if the participants performed simultaneously and you’ve got a rough idea of what the action in Robo Rally is like.
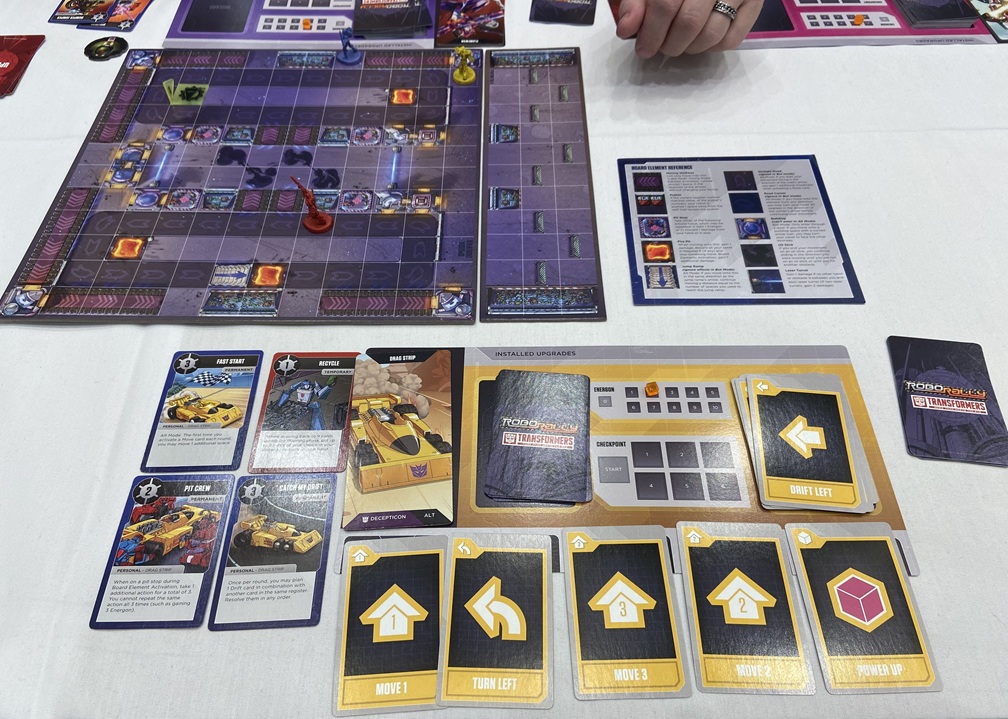
And there’s no better IP to apply a reskin to it than Transformers. Though I’m not entirely sold on some of the featured characters. Obviously you have to have Optimus Prime and Megatron, though apparently the latter is now a tank (I’m not really acquainted with how the franchise developed following G1). Since Robo Rally is a land race, it was inevitable that there wouldn’t be any core Decepticons like Starscream, Soundwave, and Thundercracker, so the designers had to dig deeper. Dragstrip I do vaguely recall as one of the Stunticons. Flamewar was a complete mystery to me, especially since I’m pretty sure that there were no motorcycle Transformers prior to the introduction of Wreck-Gar in the 1986 movie. A bit of research revealed that the character was introduced in 2005, so little wonder the name didn’t ring any bells. Seeing as how the Autobots are all about ground vehicles, you’d think we’d get classic characters like Jazz or Bumblebee. But instead they went with Arcee and Blurr. While I do recognize these names, my reaction was a nonplussed, “Huh.”
The game’s backstory is that every year, the planet Velocitron holds the Speedia 500, with the winner getting to rule the planet until the next race. If that premise strikes you as being a bit silly, the Transformers franchise may not be for you. With both Autobots and Decepticons competing, there are sure to be some firefights included in the mix. Still, if the idea of the Autobots engaging in cutthroat backstabbing among themselves feels thematically inappropriate (though that’s pretty much SOP for Decepticons), there’s a team gameplay option.
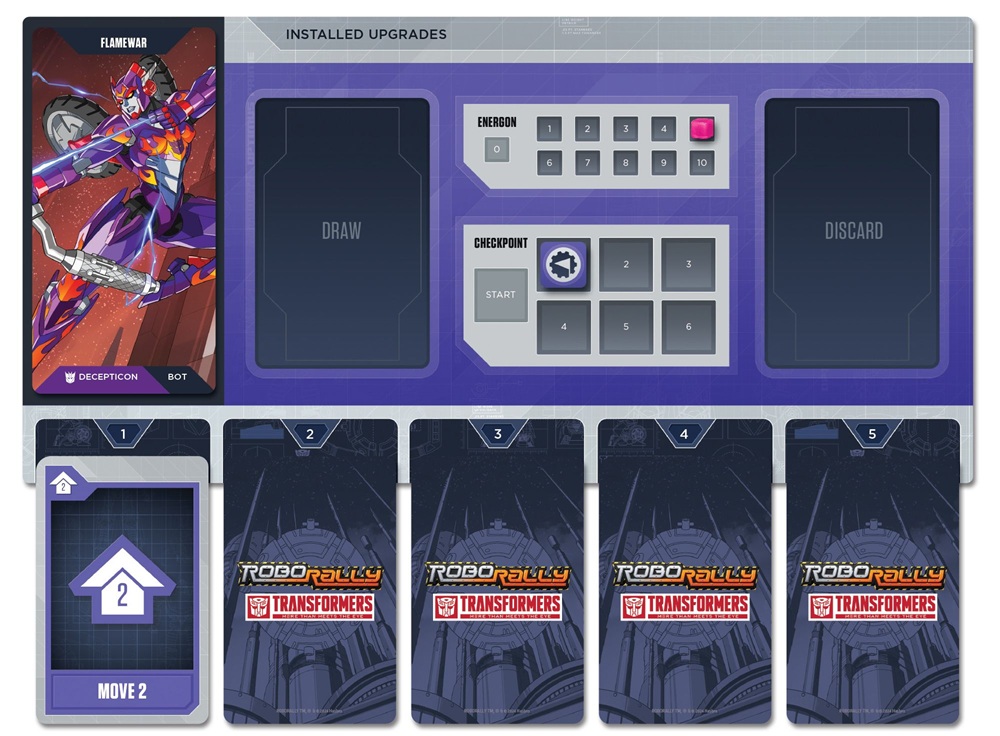
The game is played over a series of rounds divided into four phases. The round begins with the Upgrade Phase, where you have the option to draw an Upgrade card, install an Upgrade, and uninstall an Upgrade. The first two require the expenditure of one unit of Energon, and a player may perform each of these options up to once per Upgrade Phase. A maximum of four Permanent Upgrades and three Temporary Upgrades (which get discarded when used) can be installed at any one time, though there is no limit to how many uninstalled Upgrades a player may keep in reserve.
Next is the Planning Phase. First, players draw from their personal Planning decks until they each have a hand of nine cards. After figuring out what course of action you believe you can pull off, five cards are selected from your hand and each is placed facedown in one of the numbered registers on your Player Board. Finally, you may choose at this point to transform from robot form to vehicle form or vice versa (mimicking the sound is optional) for free. This is important, as some board features can only be traversed or provide an additional benefit when in a specified form. Also while many Upgrades can be used in both forms, others can only be used in one or the other.
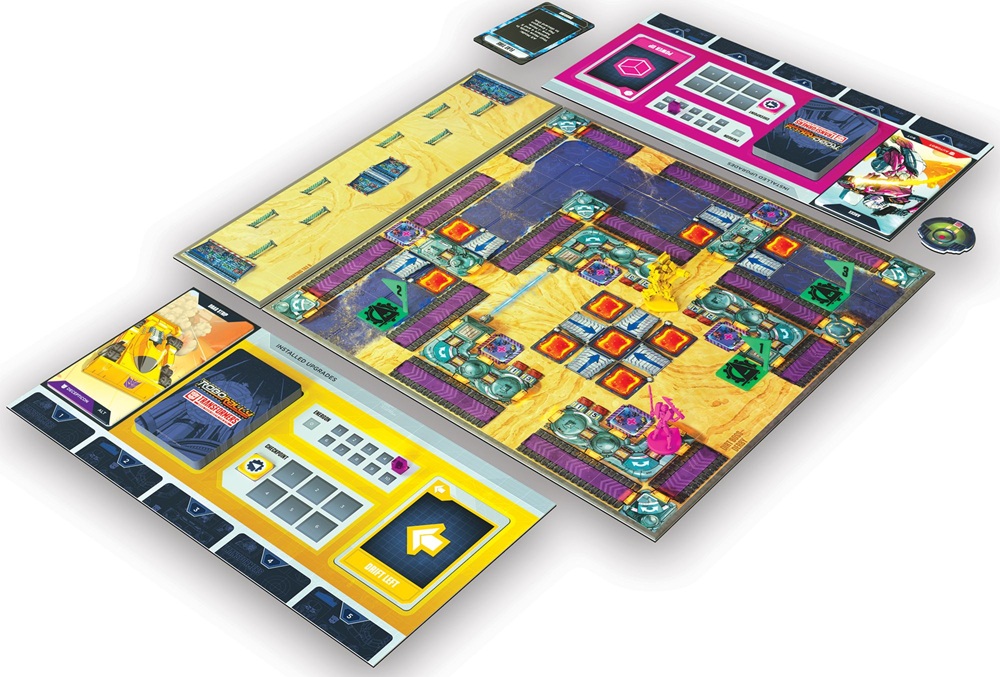
The Activation Phase is then resolved. Each player flips over the card in the Register 1 slot on their Player Boards. Starting with the player who currently possesses the Cosmos Priority Token and going clockwise around the table, each player has their Transformer perform the indicated action on the card, which will involve moving, steering, or gaining Energon. If a space with an Immediate Effect is entered, that effect is applied. Whenever a checkpoint is entered or passed through in the correct order, the player marks that progress on the Player Board. Once all players have resolved the cards in their first registers, occupied spaces with non-Immediate Effects have them applied. Transformers can then fire their weapons, with the attack going in a straight line until it hits another Transformer. The corresponding player then draws and resolves a Damage card. While in vehicle mode, such attacks can only go forward. In robot mode, attacks can also go to the right or left. This process is repeated for the remaining registers. You can also transform between registers by expending one Energon. If at any point one of the Transformers enters or passes through the final checkpoint after having visited the previous checkpoints in the correct order, the controlling player wins the game.
Since players don’t know for sure what the other players intend to do, their actions can sometimes intersect in unexpected ways. The most common is when one Transformer ends up attempting to enter a space already occupied by another Transformer. In such cases, this results in a push, where the obstructing Transformer gets moved in the direction the pusher is going until the pushing Transformer’s movement ends for the register or if the obstructing Transformer would be made to enter a space that could not be legally accessed. Being pushed out of position can be especially inconvenient early in the phase, as the remaining Planning cards may guide your Transformer down a less desirable path, maybe plummeting into a fire pit as the other players cackle in delight.
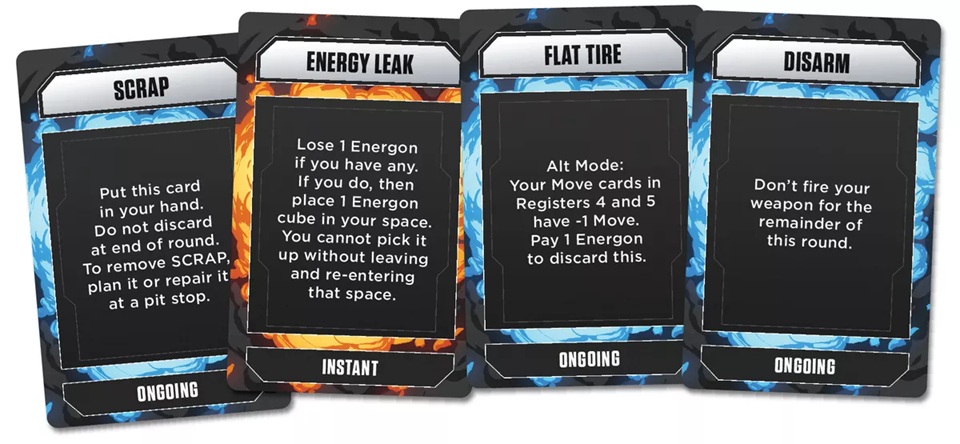
Whenever a Transformer is attacked or runs into a particular type of hazard, the player draws a Damage card, which comes in three types. Immediate cards apply the described effect and are then discarded. Scrap cards are added to the player’s hand, counting as part of the hand limit and thus providing fewer options during the Planning Phase. These can only be discarded by performing a Pit Stop action or playing it into one of your registers during the Planning Phase. Ongoing cards stay in effect until a Pit Stop action is performed or the action described on the card is enacted.
If no one has succeeded in reaching the final checkpoint by the end of the Activation Phase, the End of Round Phase is conducted. The player who currently possesses the Cosmos Priority Token passes it to the next player to the left. Then Scrap cards in registers as well as Ongoing Damage cards with a duration that lasts until the end of the round go to the Damage discard pile. Finally, players take the Planning cards on their Player Boards and place them in their respective Planning discard piles. Any Planning or Scrap cards in hand are retained as the next round begins.
Wonder Woman: Challenge of the Amazons
- $29.95 for 2-5 players
- Ages 10+
- Designed by Prospero Hall and Dexter Stevens
- Published by Ravensburger
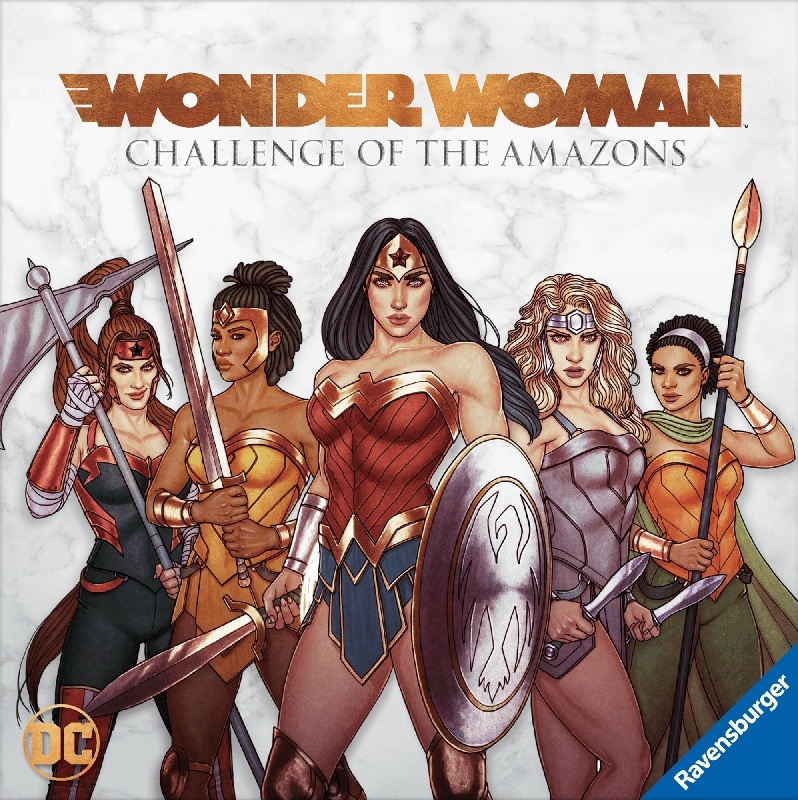
Purchasing tabletop games at places like Ollie’s is a risky endeavor. Sure, with how tabletop games can cost an arm and a leg, getting one so cheap can be appealing. But there’s probably a reason why such games had ended up as some other store’s overstock. Certainly I’ve picked up my share of duds from Ollie’s. But the occasional diamond in the rough crops up, and Wonder Woman: Challenge of the Amazons proved to be the best ten bucks I spent.
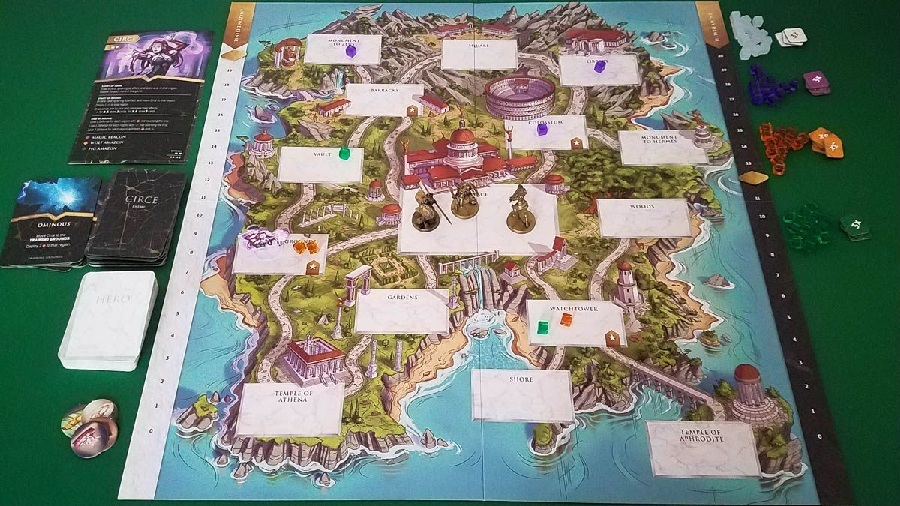
The island of Themyscira is being invaded by a hostile force for some nefarious purpose. And it’s up to Wonder Woman and her fellow Amazons to educate their adversary on what a terrible idea it is to raid the stronghold of an assemblage of badass warrior chicks.
At the start of the game, one of three enemies is selected for the players to face off against, using the corresponding Enemy mat and cards. It is recommended that you use Ares for your first game, as the gameplay for that one is the most straightforward.
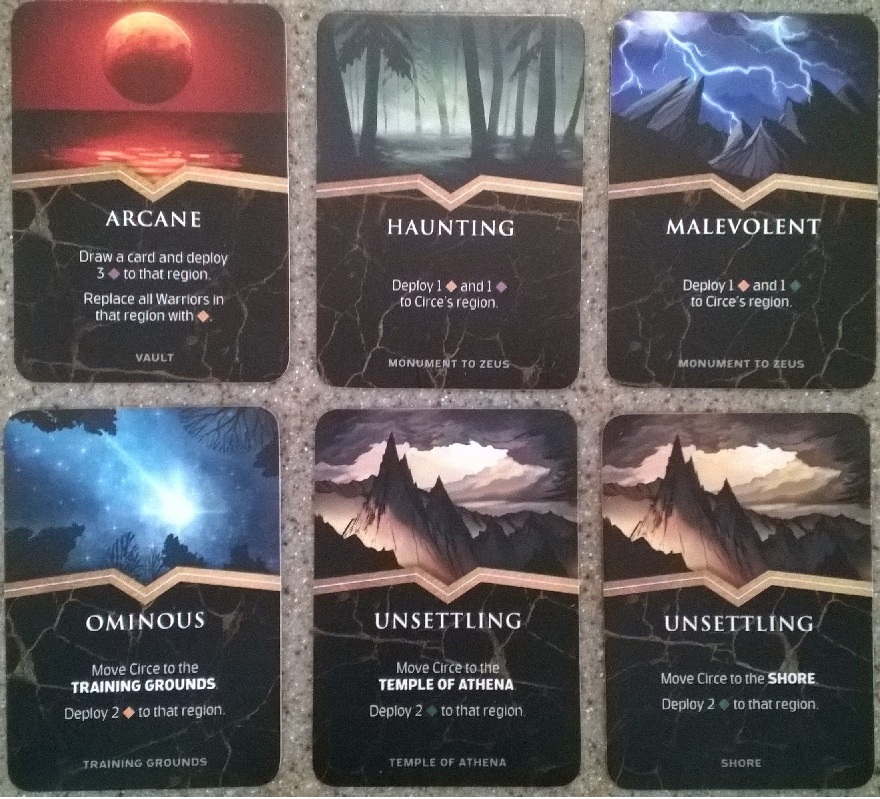
The game is divided in a series of rounds which consist of five phases. In the first phase the Start of Round actions on the Enemy mat are implemented. While the specifics can vary, this typically consists of drawing an Enemy card to determine in which region the Enemy marker is placed, deploying Obstacle cubes, and drawing and resolving a number of Enemy cards based on how many players there are. Enemy cards can result in an array of negative effects, with the most common being the deployment of Obstacle cubes. These come in three different colors (green, orange, and purple), with their effects being determined by which Enemy is being used.
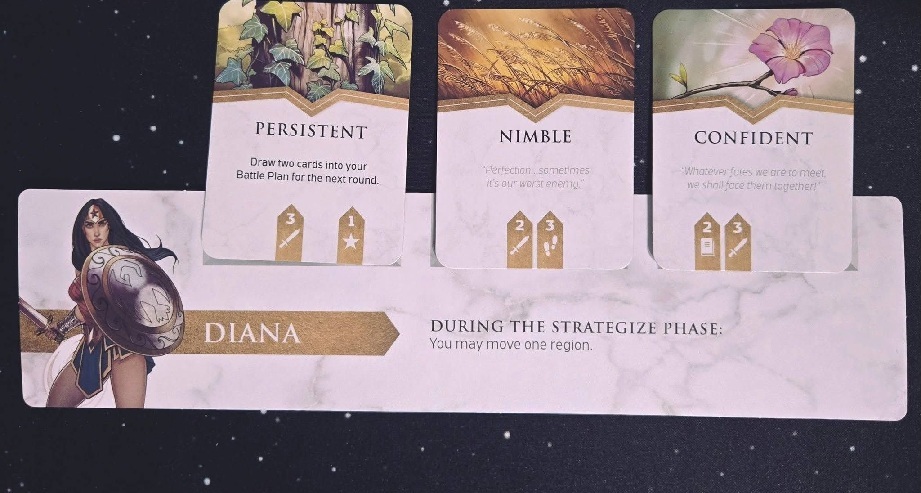
Once this is completed, the second phase begins with each player being dealt two Hero cards faceup and three facedown. Each Amazon also has a special ability, most of which get used during this phase. Without looking at the facedown cards, players discuss among themselves what sort of actions they should perform and in what order.
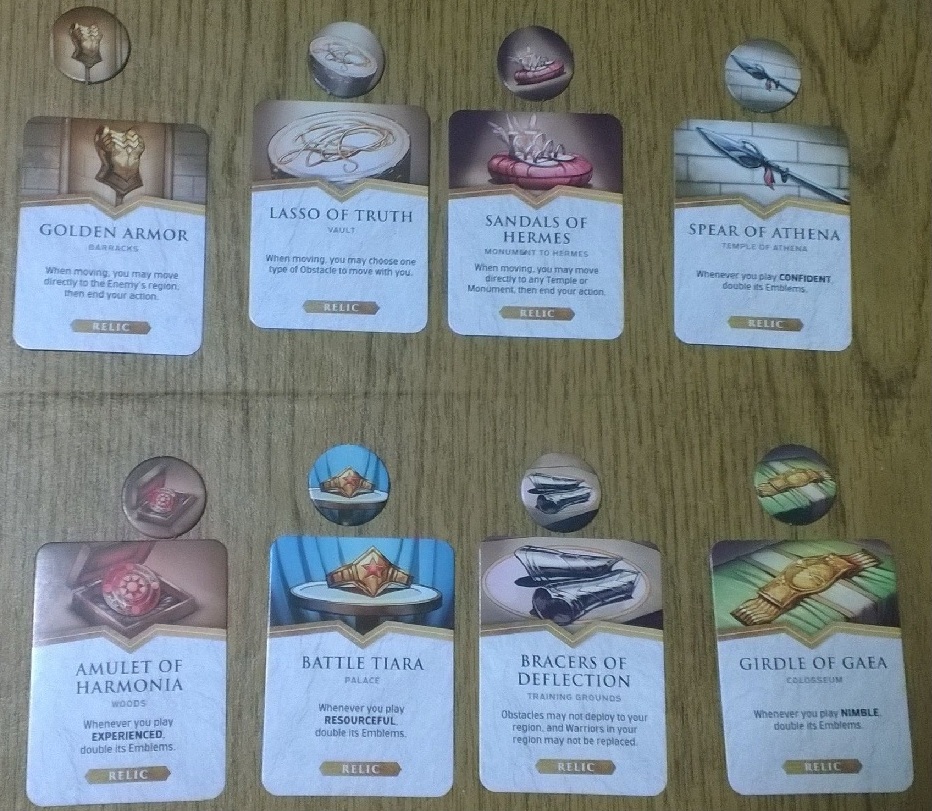
Once this is finished, players start the third phase by collecting all their Hero cards without revealing the facedown cards to the other players and selecting three cards to place facedown in the Action 1, Action 2, and Action 3 slots on your Hero mat, with unused cards going to the discard pile. If at any point a player has a Relic Card, there are two options. The first is to set the Relic card aside (a replacement card is NOT drawn) and placing the corresponding Relic token at the region indicated on the Relic card. The first Amazon to enter that region claims the card and gains the listed benefits for the rest of the game. If it doesn’t appear to be worthwhile at the moment, the Relic card can go to the discard and a replacement Hero card is drawn.
In the fourth phase, players resolve their actions. This is started by flipping over all the Hero cards in the Action 1 slots. Each Hero card features 1-3 Emblems with a corresponding value representing Wisdom, Vigor, Agility, and Leadership. The values of these Emblems can potentially be increased due to possessing a Relic or from the text on the card. One of the Emblems is selected to perform a specific action. Though if the Emblem value is high enough, that same action can be performed multiple times if desired. Players may perform their actions in any order or even simultaneously if necessary. However, all the Action 1 actions must be completed before the Action 2 cards can be revealed, and all Action 2 actions completed before the Action 3 cards can be revealed.
Actions come in two broad categories; Basic and Special. Basic actions are identical in function regardless of which Enemy is being used, which are of two types. If an Amazon is in one of the four Command regions, a Leadership Emblem can be used to place Warrior cubes in that region equal to the value of the Leadership Emblem. These cubes represent the Redshirts who can back up the Hero Amazons. The other available Basic action is to use an Agility Emblem to move your Amazon a number of spaces equal to or less than its value. Any Warrior cubes in your starting region or one you pass through may accompany your Amazon.
Special actions can be used to affect Obstacle cubes on the board (usually by removing them) or dealing damage to the Enemy. These can only affect components in the region where your Amazon is currently located. The Emblem that is used against particular Obstacle cubes will vary depending on what sort of threat the cube represents. Four points of any one Emblem can be used to inflict one point of damage on the Enemy if in the same region. Amazons in the same region can Team Up by totaling identical Emblems from their current Hero cards. This can allow the removal of multiple Obstacle cubes being affected or multiple points of damage being inflicted on one action. The value of an Emblem being used in a Special action can also be increased with the expenditure of Warrior cubes in the region. Each Warrior cube returned to the supply increases the Emblem’s value by one.
In the final phase, the End of Round effects listed on the Enemy mat are applied. Most of these will involve the Defense meter being reduced based on the number and/or positions of particular Obstacle cubes. To win, the Amazons must reduce the Enemy’s Health meter to zero before the same happens to the Defense meter. Depending on the enemy being used, there may be additional ways to lose the game.


Renegade Game Studios also publish a G.I Joe miniatures war game and a tabletop RPG.
I did mention the RPG in the paragraph following the comic book panel.
Sorry, I skimmed a little too quickly.